
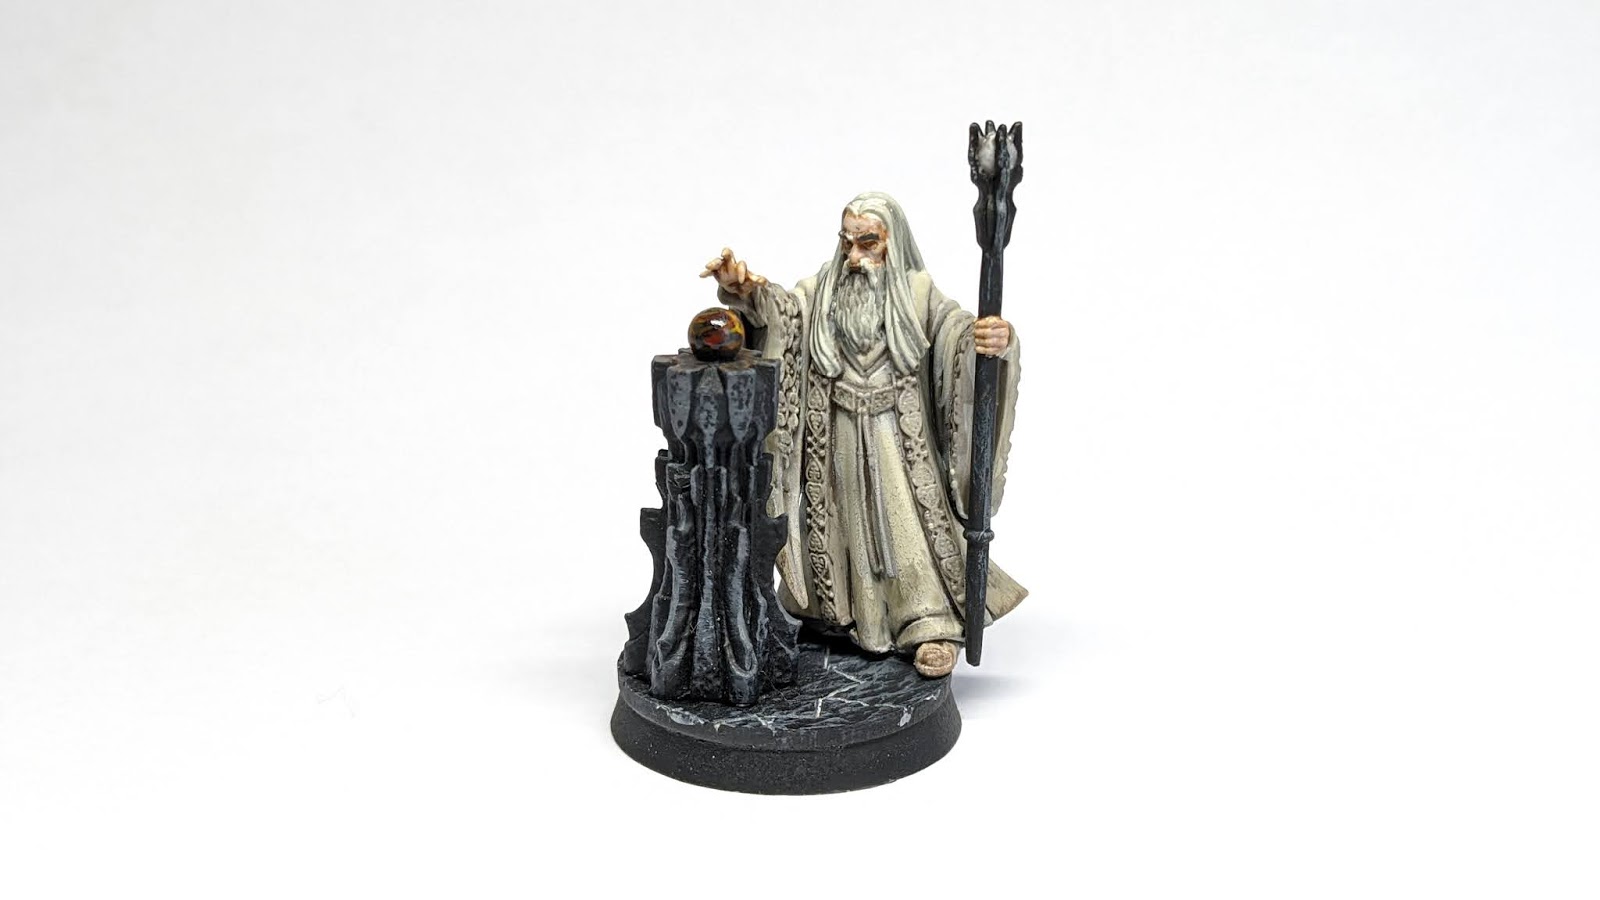
Close-ups and Bases
We all have that one key feature that we spent ages working on - whether it be the facial details, the detail in the base or the shining jewel embedded within a crown. It makes sense that this is something you would want to show off, and why not? You put the time and effort into it, and it may get lost within the wider image of the miniature or may even be obscured partially. When using your phone to photograph, there's only so close you can get before the whole model gets out of focus. This can be solved in two simple ways; Zooming and Cropping.

Zooming is relatively simple and essentially every camera phone is capable of it today. This is great for picking out smaller details and with some phones you can really get in close. There can however be a downside to this - not all zoom functionalities are great. Some phones have a zoom function, but in reality all they are doing is expanding the centre of the frame without providing more detail (this is becoming less common the more advanced phone camera technology gets). Instead you get a grainy, more pixelated image so please be wary of this - a grainy photo does not show off an intricate detail well!

Another method to go down is use your phones inbuilt image editor (pretty much standard across all phones today, but check online to see how to access it on your own device if not sure already). With this, we'll be cropping the image to focus specifically on the detail that we want to show off. The key to a good crop, is making sure that your chosen detail is in the centre of the frame, but not going in too close as to lose context of the rest of the miniature.

For looking specifically at bases, we can use a lot of the steps above in order to achieve this. With your light set-up as per the previous article however, this may cast some unfavorable shadows. The best solution is to simply move the the light slightly to show it off more.
Multiple Models
Now this can vary from a motley trio of hunters to an entire regiment, the main thing to keep in mind is the space and lighting you have available - the more models you are photographing, the less your one light will cover well. Let's focus for the moment on two examples - a trio and and a small group.
Starting small we have The Three Hunters. With a small selection of models there's two different ways we can go about photographing them: Firstly we can give each miniature an equal space in the spotlight by keeping them all on the same focal plane (in other words, they will all be equally focused and in a line). This is great for showing off all of the miniatures in an equal capacity within one image.


Secondly, we can go for what can be often a more aesthetically pleasing layout and stagger the miniatures into a triangular layout. This can drop the two miniatures in the background out of focus a little, but draws more attention to the character in the foreground (in our case, Aragorn). This kind of layout works well when for example, a hero is backed up by a bodyguard retinue or particular group of models(King's Champion, King of the Dead with Heralds, With-King and Ringwraiths being a few). The downside of this being that some detail will indeed be lost on models in the background.

Now if we were to look at a larger detachments of miniatures, for instance a warband or battle company and lined them up as we did previously it would make for a dull, and long image. Simply put, the human eye can become disinterested when looking at a long line of similar models so the triangular layout we used before can be a better option by condensing the image down a little bit, but once again we'll be losing focus on the miniatures towards the rear. This might not present itself to be too much of an issue however if you're working with your standard units who don't need the strongest representation within the image.
Sometimes this can still be a little dis-interesting however, so we'll go for the next option of a mixed group shot. In the example below we can see my Lothlorien battle company, and the heroes (denoted by their red cloaks) are shown at the front - they are the key focus compared to the other miniatures. For the others you can go a couple of ways - a formation (great for spear and shield units) or a loose arrangement best presented in a staggered arrangement (think back to your class photographs!).

With the image above this small section of models the low angle works well - however this may not be the case for a full army. This may well end up obscuring a lot of the miniatures behind especially if there's a mounted hero involved. In this case, we'll go for a higher angle. Not so high however as to create a relatively dull image - some coverage of the rear models is not a bad thing!

That's it for today's lesson. Is there anything particular you'd like us to cover in our next basics guide? Let us know in the comments and show off your own photos using these tips!
No comments:
Post a Comment