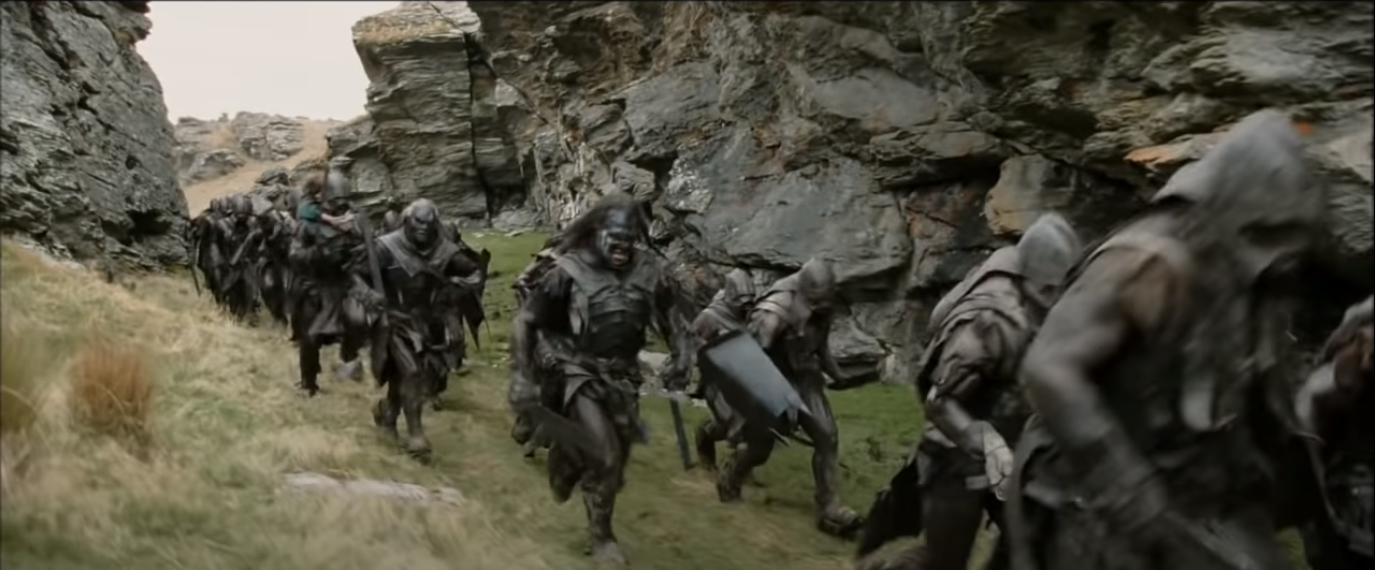
So it appears after working on the Dwarrowdelf display board, I got bitten pretty hard on the whole diorama/display board hobby. Looking at my current armies, I had a few options to go for. One which particularly leapt at me allowed me to display two different armies depending on what I was running or wanted on display. Those two armies were Rohan and Isenguard. The location I wanted to make? Well this was quite specific in some regards - one of our first introductions to Rohan besides the rolling plains is a much more up close and personal scene including some Uruk-Hai and Orcs in a ravine.

This offered some nice things to work with hobby-wise and from a compositional stand point - namely the rising rocky faces on either side of the valley (also screaming out to the rock-climber in me). For this I had a few ideas in mind, the first being to build up the sides using foam and then add some character by attaching plaster casts of rock faces. In between these I'd build up the foam and sculpt it to blend in. With that plan in mind, let's see how I go about it!


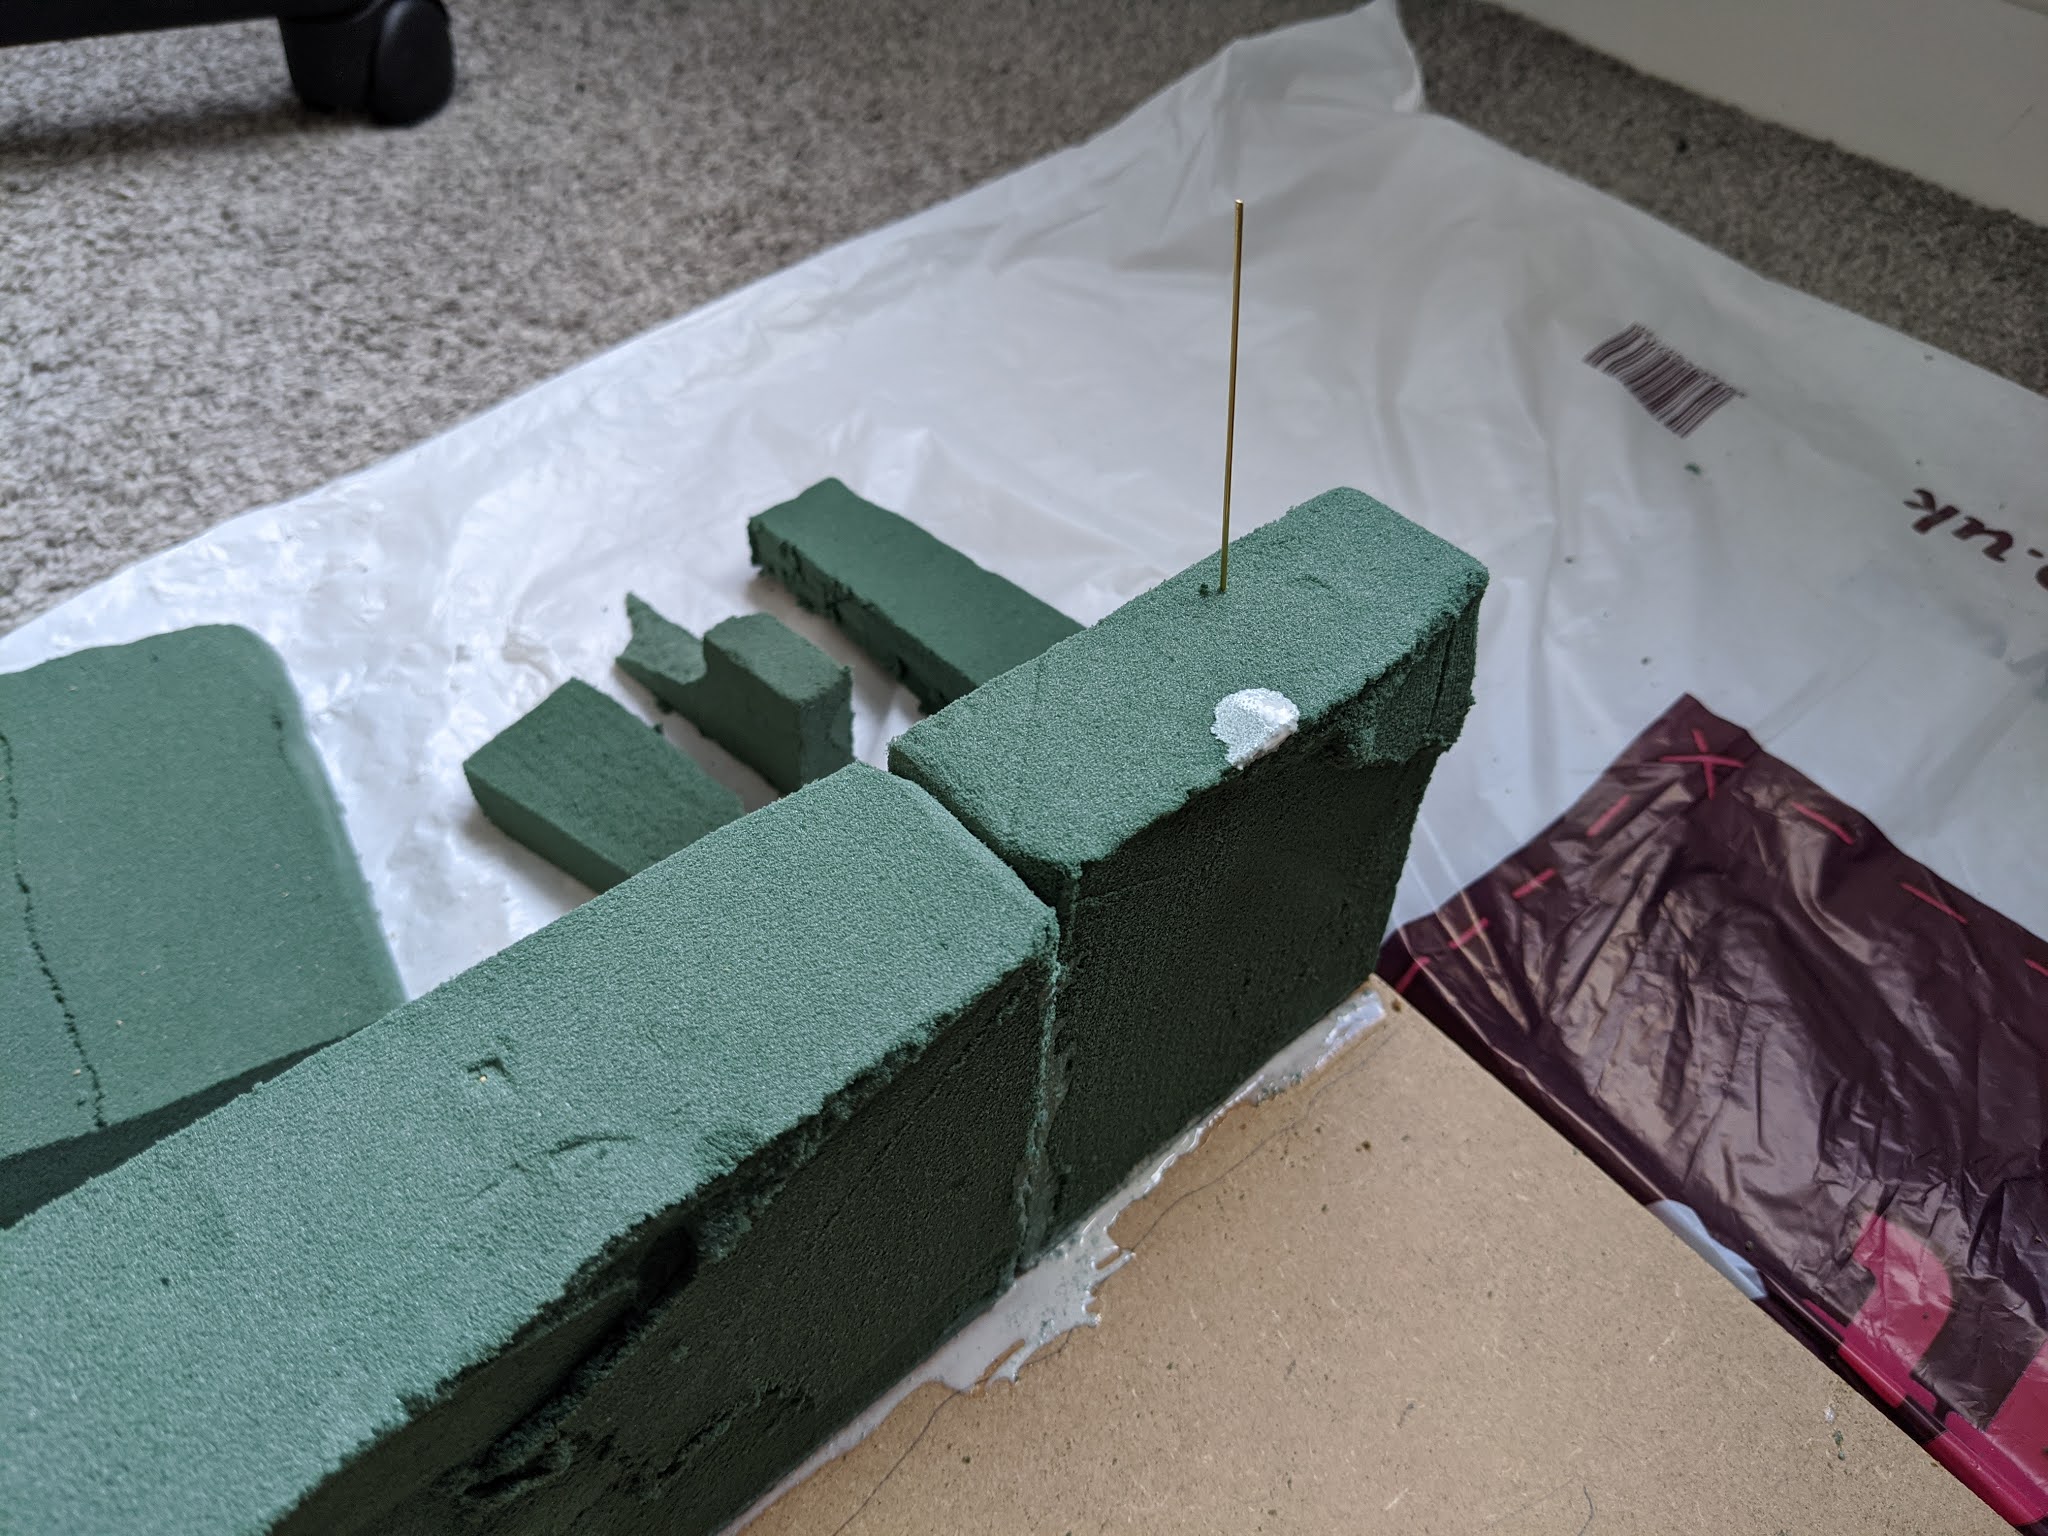
The foam I decided to go with is just your standard foam used for flower arranging (a full list of tools and materials used will be at the end of the article). The pros to this behind that it's very easy to carve and manipulate along with having a nice gritty texture that lends itself well to rock faces. The cons however are that it is indeed very easy to manipulate, one slightly to forceful grip on it can leave lasting impression upon the material. Given the height of it I also wanted to secure it to the board a bit more, so drilled into the MDF base and inserted some brass rods to add a little more stability during the construction.
With the main skeleton sorted it was time to move on to the basis of the rock faces - the plaster casts. The ones I picked out were a couple of rock molds made by Woodland Scenics as they had incredibly crisp looking designs which would work great when it came to painting and weathering. Using a bit of their plaster I got to setting...or so I thought. The first batch I made was a bit of a disaster. I thought I'd used the right ratio of water to plaster, but as I found out the slightest drop of water can dramatically alter the consistency. The first batch ended up with too much water, and unfortunately fell apart when removing from the mold. With the ratio tweaked a little bit I managed to get a clean set of casts for the second and then got to applying them to the foam.

Now when I initially bought the moulds, I thought a cast of each (I bought two) would be enough for both sides and it turns out I was wrong! Only one side got covered and I will admit that to start with it looked a bit awkward. With some quick sculpting to the lip of the wall it started to look a lot better. During this time (and waiting for the next casts to dry) I set about making the base of the ravine, and this is where the malleable nature of the foam helped a lot, as I was able to depress certain areas quite easily to give an uneven appearance. Looking at the side I'd already made, it also looked a little flat. So whilst waiting for the casts I got to adding a bit of depth in the form of outcrops and some ground slanting down from the wall into the base. When it came to apply the next casts, it gave a much more interesting appearance and then set to further blend all the components by sculpting the foam with a few models tools to scrape certain areas away.

With all the sculpting work done it was time to get to the colour. Another problem with foam however is that it absorbs moisture incredibly well, so spray base coating it would end up going through quite a few cans! The first step I decided was to go with masonry paint. Given it's thicker than regular paint consistency it also meant I could plug up a few gaps in the base and tone down a few of the harder edges between bits of foam. With this layer then dry, I took a can of Tamiya Wooden Deck Tan (the closest I could get in spray form of Steel Legion Drab which I've coated by model bases in) and gave the whole thing a good coat.
For the next step it was time to add some more texture and colour to the base and top of the ridges. The bases on all my Rohan and Isenguard are identical in how they're achieved so I went for a similar process so that they'd sit well on the terrain - a layer of Gale Force 9 Super Fine Basing Grit, with a layer of Element Games Autumn Grass flock on top in patchier areas. This is quick and easy with small based miniatures; on a larger scale it was going to get very messy. On top of that I also had a lot of painting to do to the actual rock faces.


With the layer of grit down I worked away at the rock faces as I wasn't too fussed if some of the paint got onto the grit and most of this would eventually be covered in flock. The best way I've come to work with weathering (especially to make realistic and interesting looking rock) is to build it up in layers continuously, but more sparingly each layer. For this set I started with a base of Eshin Grey (slightly watered down to provide more coverage), then when dry applied a fairly liberal coat of Dawnstone. Given that I said we'd build this up in layers, I decided to darken the whole thing, especially to seep into the dark nooks and crannies of the sculpt with a 1:1 mix of Nuln Oil and Lahmian Medium - as my Dad always told me "You can always add more, you can't necessarily take away" and that rings true to me with washes. With this dried off, I built up the next layers with more Dawnstone, some Terminatus Stone and finally Longbeard Grey all in smaller and lighter quantities to build up nice gradients. As for the non rocky parts in order to break up the base I added some Stirland Mud to certain areas, namely where water might pool more easily such as the ridges leading into the ravine and around the outcrops. These areas also received a small amount of Agrax Earthshade (along with the top of the ravine) to give a sense of weathering.

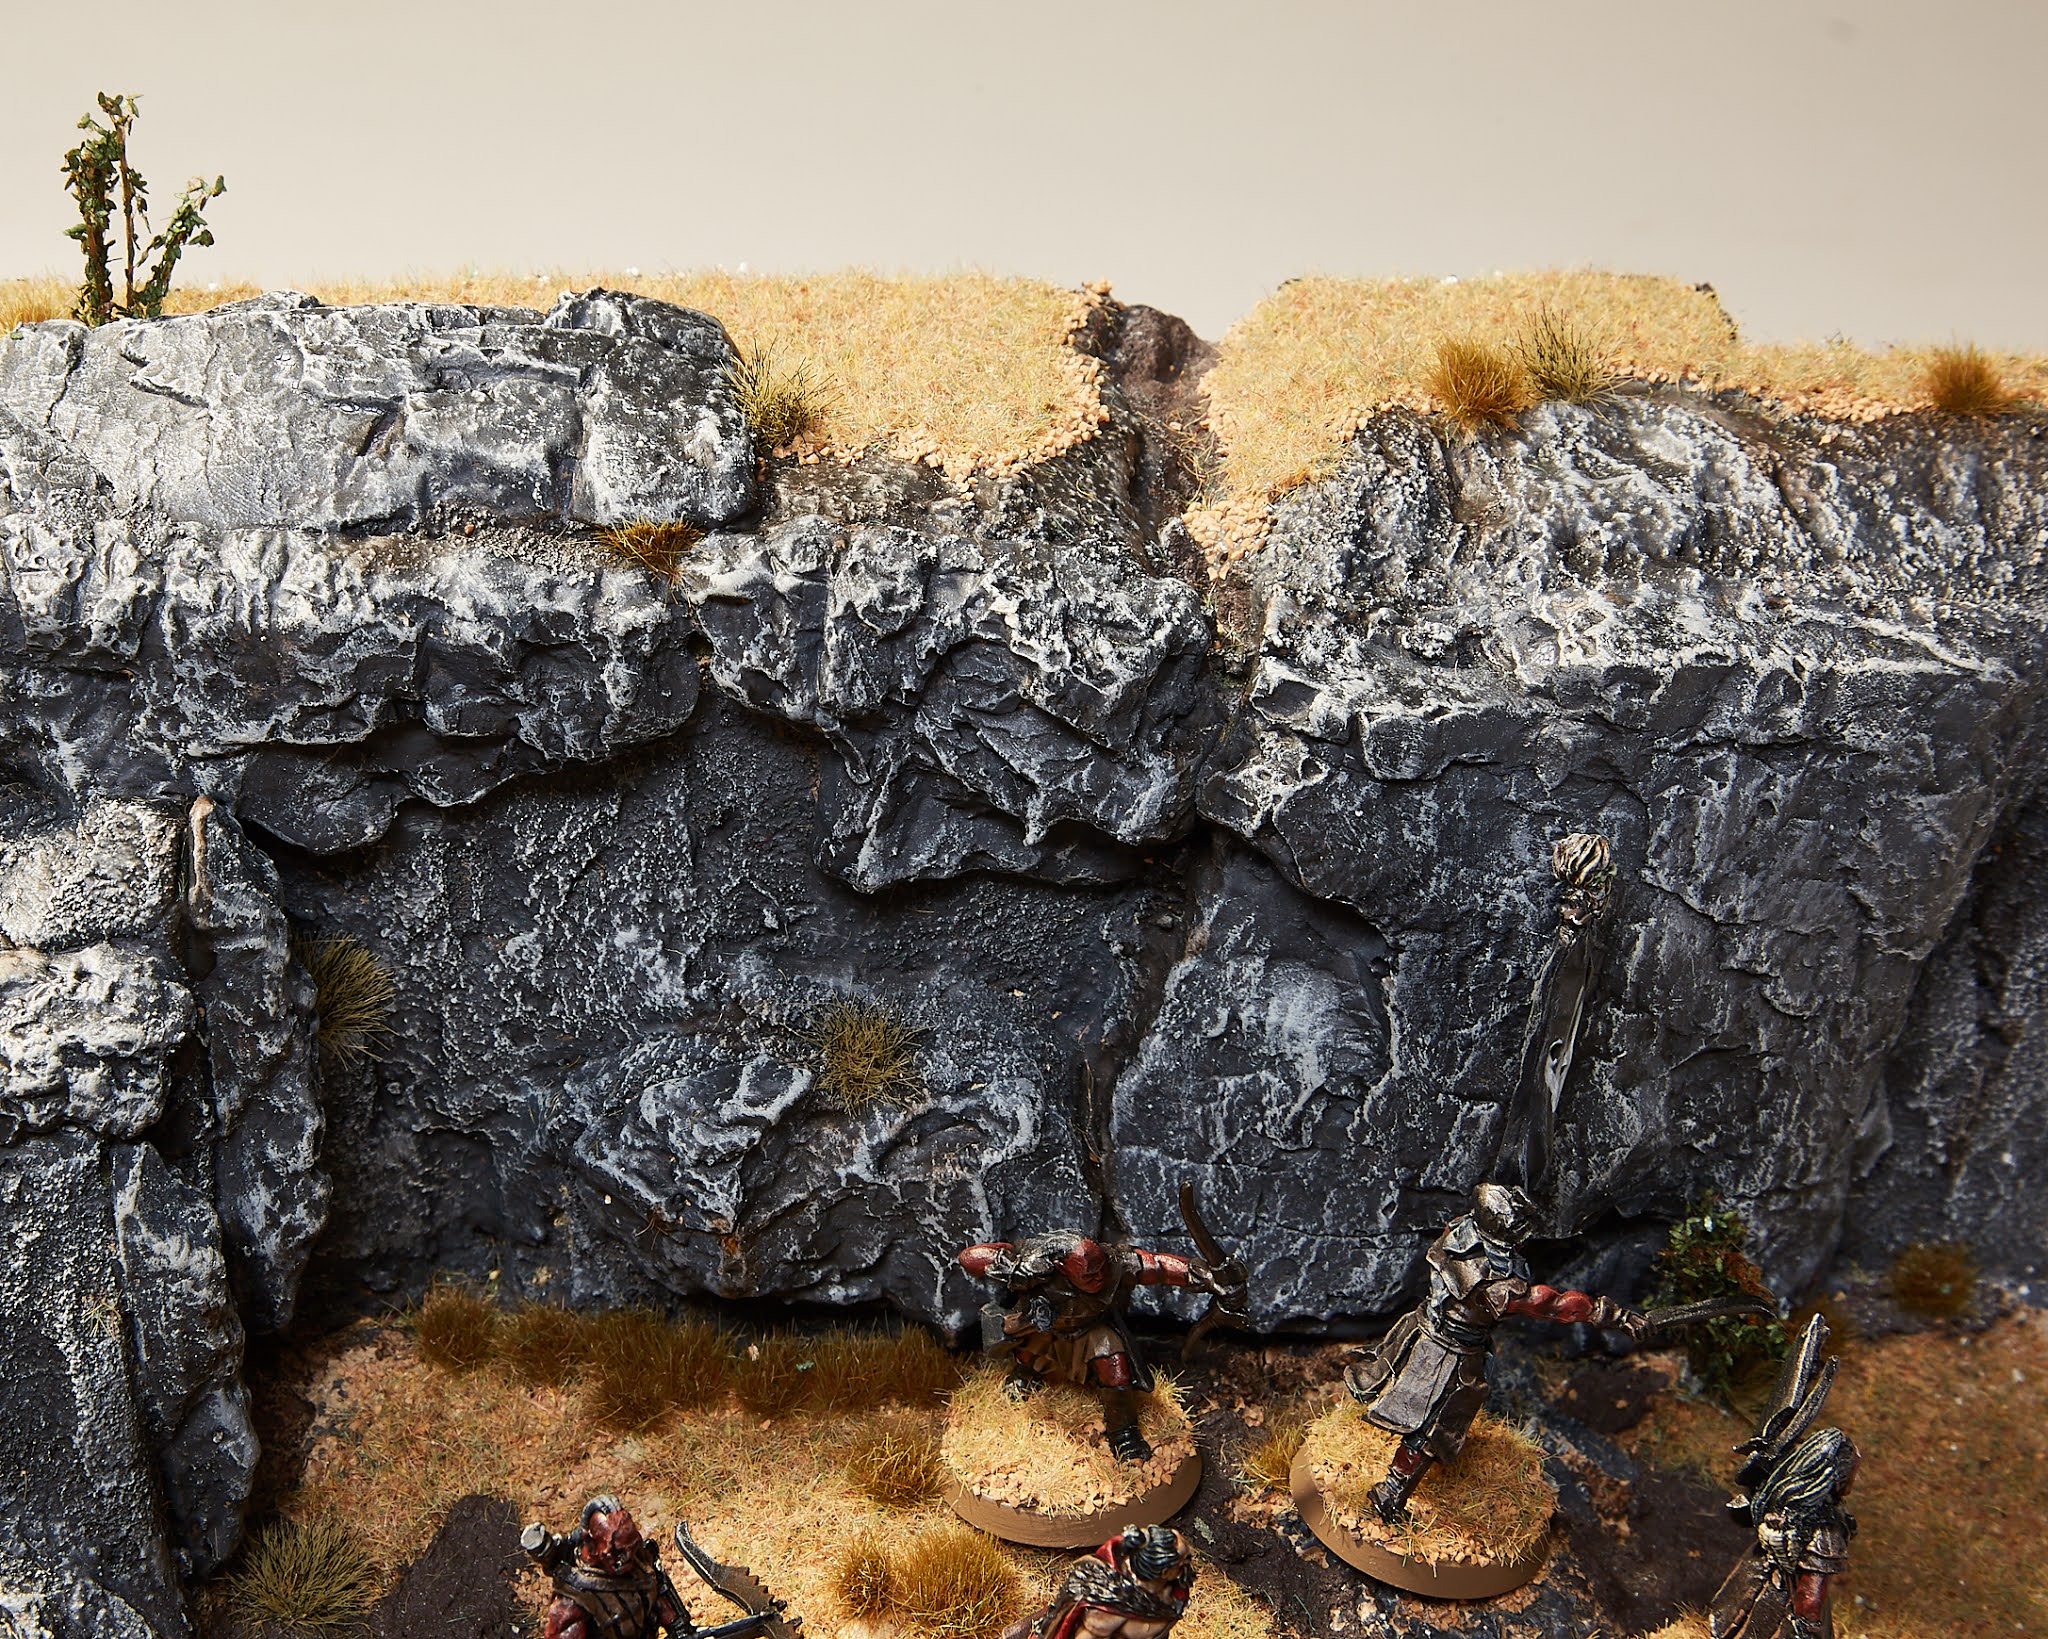
The next big messy step came in the form of applying the flock. This also did not go well and I ended up spilling most of a pot outside when adding it to the Static Applicator's hopper! I did however manage to salvage enough get the coverage I needed onto a layer of PVA basing glue. After leaving this to dry there as an awful lot extra to filter off, the worst part being that it snuck into a few of the rock recesses, but nothing a bit of brushing with a stiff paintbrush couldn't deal with. Now it was time for the final touches to be added - the foliage. Most of it shown in the image above is grass mounds from Army Painter (a mix of Highland Tuft and Winter Tufts), I did however drill a few holes in order to insert some shrubs from Green Stuff World. With all the detail added all I needed to so was neaten up the outside with some polyfiller, sanding down and a frame of black paint. It was then off to the studio to bring it fully to life with some miniatures.


And there we have it, the finished product punctuated with a Uruk Scout force, and some sneaky Three Hunters on their trail. I would have loved to completely recreate the encounter between Ugluk and Grishnakh, but I unfortunately lack a few of the miniatures at the moment. Once I get my hands on them however I'll be getting some more photos on this in the future! I hope you've enjoyed reading through the progress of this board, it certainly was a fun one to make, any question just leave us a comment below!
Materials:
MDF
Plant Foam (Hobby Craft)
Masonry Paint - Goodhome Masonry Tester
Wooden Deck Tan Spray - Tamiya
Citadel Paints - Eshin Grey, Nuln Oil, Agrax Earthshade, Dawnstone, Terminatus Stone, Longbeard Grey, Lahmian Medium.
Black - Stuart Semple
Super FineBasing Grit - Gale Force Nine
Autumn Grass Flock - Element Games
Highland Tuft, Winter Tuft - Army Painter
Tall Shrubbery Brown Green - Green Stuff World


Excellent as always 🔥
ReplyDeletethanks for doing this as always:)
ReplyDelete